How to Map Land With a Drone
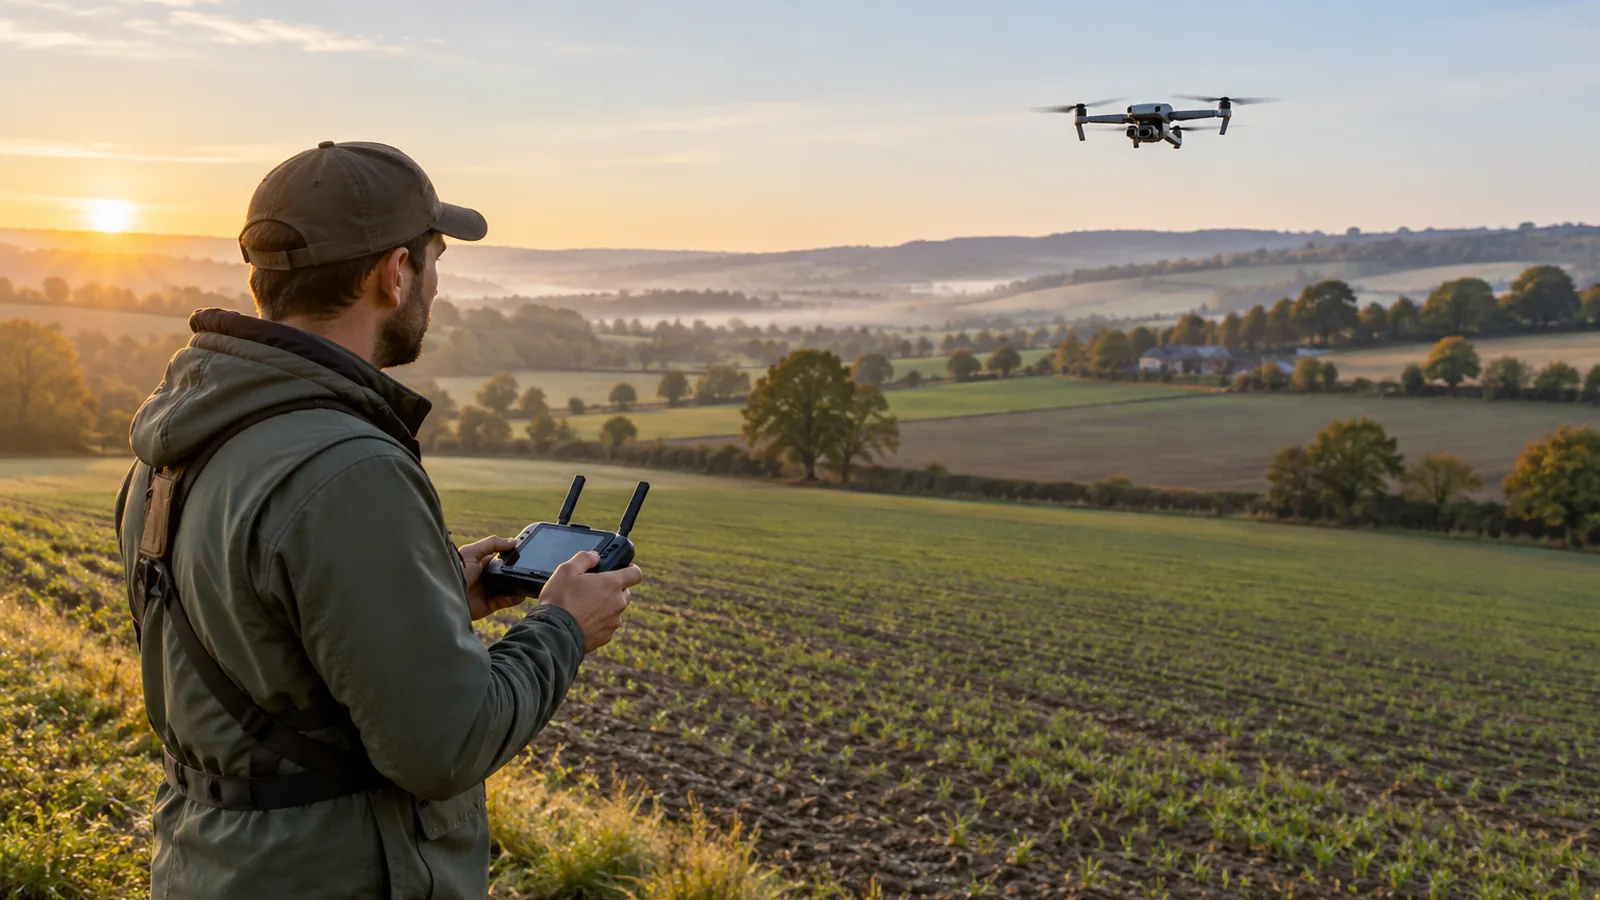
To map land with a drone, define the survey area and required output, plan a suitable flight, capture overlapping images, then process them into a map. Flight settings depend on your drone, camera, terrain, and mapping needs, so choose overlap and height settings for each survey.
Plan and Fly a Land-Mapping Mission
Mark the boundary and choose the deliverable. Draw the survey area on a map, including any nearby ground you need to capture for context. Decide whether you need a flat image map, a 3D model, or height information, then confirm your processing workflow can create that output.
Check airspace, permissions, and hazards. Review the rules and airspace restrictions that apply to the site, and obtain any required permission before flying. Mark obstacles and hazards such as trees, wires, buildings, people, and nearby roads so you can plan a clear route.
Match the aircraft and camera to the job. Confirm that your drone can cover the site and capture images your chosen mapping workflow accepts. Check that the camera can be aimed and operated as needed for the deliverable, and confirm that your processing software supports the image files and output you intend to create.
Plan flight coverage and overlap. Lay out a route that covers the entire boundary, with enough margin to avoid missing edges. Set the image overlap in the flight-planning app based on the drone, camera, terrain, and mapping requirements; use the app’s mapping guidance rather than assuming one setting suits every mission.
Prepare the aircraft and camera. Check the aircraft, propellers, battery, storage, camera lens, and flight-planning settings before takeoff. Set the camera to capture clear, consistent images, and verify that image capture is enabled throughout the planned route.
Fly the route while watching conditions. Start the planned coverage and monitor the aircraft, camera capture, battery, and surroundings. Pause or adjust the flight if wind, lighting, obstacles, or other conditions make it unsafe or reduce image quality.
Check coverage before leaving. Review the captured images and confirm they cover the boundary, show the ground clearly, and include the planned overlap. If you find gaps or unusable images, capture the missing area while you’re still on site and conditions allow.
Process and review the map. Import the images into your chosen mapping workflow and select the output you planned. Review the result for coverage gaps, poor image alignment, and visible distortion, then judge whether it suits its intended use before relying on it.
What Flight Settings Affect Map Accuracy?
Flight height, image overlap, camera settings, lighting, and wind all affect the images your mapping workflow has to process. Choose settings for your drone, camera, terrain, and required map detail.
- Flight height: Set height to suit the detail you need. A different height changes the view captured in each image, so check that your planned coverage fits the deliverable.
- Image overlap: Plan enough shared coverage between images for your processing workflow to align them. Confirm the planned overlap is suitable for that workflow rather than relying on a general setting.
- Camera settings: Use settings that produce clear, consistent images across the survey. Check the captured images for blur, exposure changes, or other issues before processing.
- Lighting: Aim for consistent light across the area. Changing conditions can make images less consistent, so review the imagery before building the map.
- Wind: Consider wind when planning the flight and assess the resulting images for blur or inconsistent coverage. If image quality suffers, adjust the plan or fly again when conditions are more suitable.
Choose the Right Mapping Output
Choose your mapping output before flying, then confirm that your processing workflow supports it. An orthomosaic, a 3D model, and a height output call for different capture and review priorities.
| Mapping output | Capture priority | Processing check |
|---|---|---|
| Orthomosaic | Imagery suited to combining into a map | Confirm the workflow can create an orthomosaic |
| 3D model | Imagery suited to building a model | Confirm the workflow can create a 3D model |
| Elevation output | Imagery suited to producing elevation information | Confirm the workflow supports the required elevation output |
Check the required output before planning the flight, rather than choosing a file type after processing. Verify that the workflow produces the specific deliverable you need; support for one output doesn’t establish support for the others. Choose a flight plan suited to the output.
How Do You Check a Drone Map?
Check a drone map by confirming complete coverage, reviewing image alignment, inspecting visible distortion, and matching the output to its intended use. Check the source imagery and finished map together so you can tell whether a problem came from missing coverage or processing.
Start with the map boundary. Look for uncovered areas, thin edges, or gaps between mapped sections. Compare those spots with the original images: if no image shows the ground there, the map lacks coverage. If images do show it, the issue may be in how the images were aligned or processed.
Review alignment across the map, especially where paths, field edges, buildings, or other clear features meet. Look for features that appear doubled, broken, shifted, or out of place. Check transitions between images for seams, stretched shapes, or sudden changes in appearance. Visible distortion is a reason to review the imagery and processing, not to assume the map is accurate.
Next, check whether the output answers the question you set out to investigate. An orthomosaic should show the area clearly enough for its intended visual use. A 3D model or height output needs a separate review of its shape or height information. Confirm that the processing workflow produced the output you requested, then inspect the areas that matter most to your task.
If a gap, alignment problem, or distortion affects the result, review the source images and processing settings. Reprocess when the imagery supports a better result; if the images do not cover the area or show it clearly, plan a new flight to collect what’s missing. A clean-looking map alone doesn’t establish survey-grade accuracy. That claim requires appropriate control and validation, and no accuracy evidence is provided here.
Frequently Asked Questions
How do you choose the right camera settings for consistent drone photos?
Use camera settings that keep images clear and consistent across the survey, then review the photos for blur and exposure changes before processing. Choose settings for your drone, camera, terrain, and mapping needs; no single setting works for every mission.
What ground control points setup improves drone map accuracy?
Place surveyed ground control points across the survey area and include their coordinates in processing to tie the map to known locations. Distribute points across the boundary and interior, and reserve separate known points for checking accuracy rather than using every point as control.
How do you measure and verify drone map accuracy after processing?
Compare mapped features or coordinates with independent, known reference points that weren’t used to control the processing. Review the differences across the survey and report the measurement method and results; a clean-looking map alone doesn’t establish accuracy.
Which drone mapping software works best for orthomosaics and 3D models?
Choose software that supports the image files from your drone and produces the specific output you need, such as an orthomosaic or 3D model. Check each output separately before flying, since support for one doesn’t establish support for the other.
How should you handle shadows, glare, or clouds during land mapping flights?
Aim for consistent lighting, monitor image quality during the flight, and pause or adjust the mission if changing conditions reduce clarity. Review the captured photos before leaving; if shadows, glare, or clouds obscure important ground, capture the affected area again when conditions allow.
Conclusion
For a visual map, choose an orthomosaic; for shape or height information, choose a 3D model or height output, then confirm your processing workflow supports that specific deliverable. Mark the survey boundary and identify the areas and features the final output must show. Use that plan to set the flight route, check the imagery on site, and decide whether the processed result is fit for your intended use.