
What ND Filter Should I Use for Drone Video?
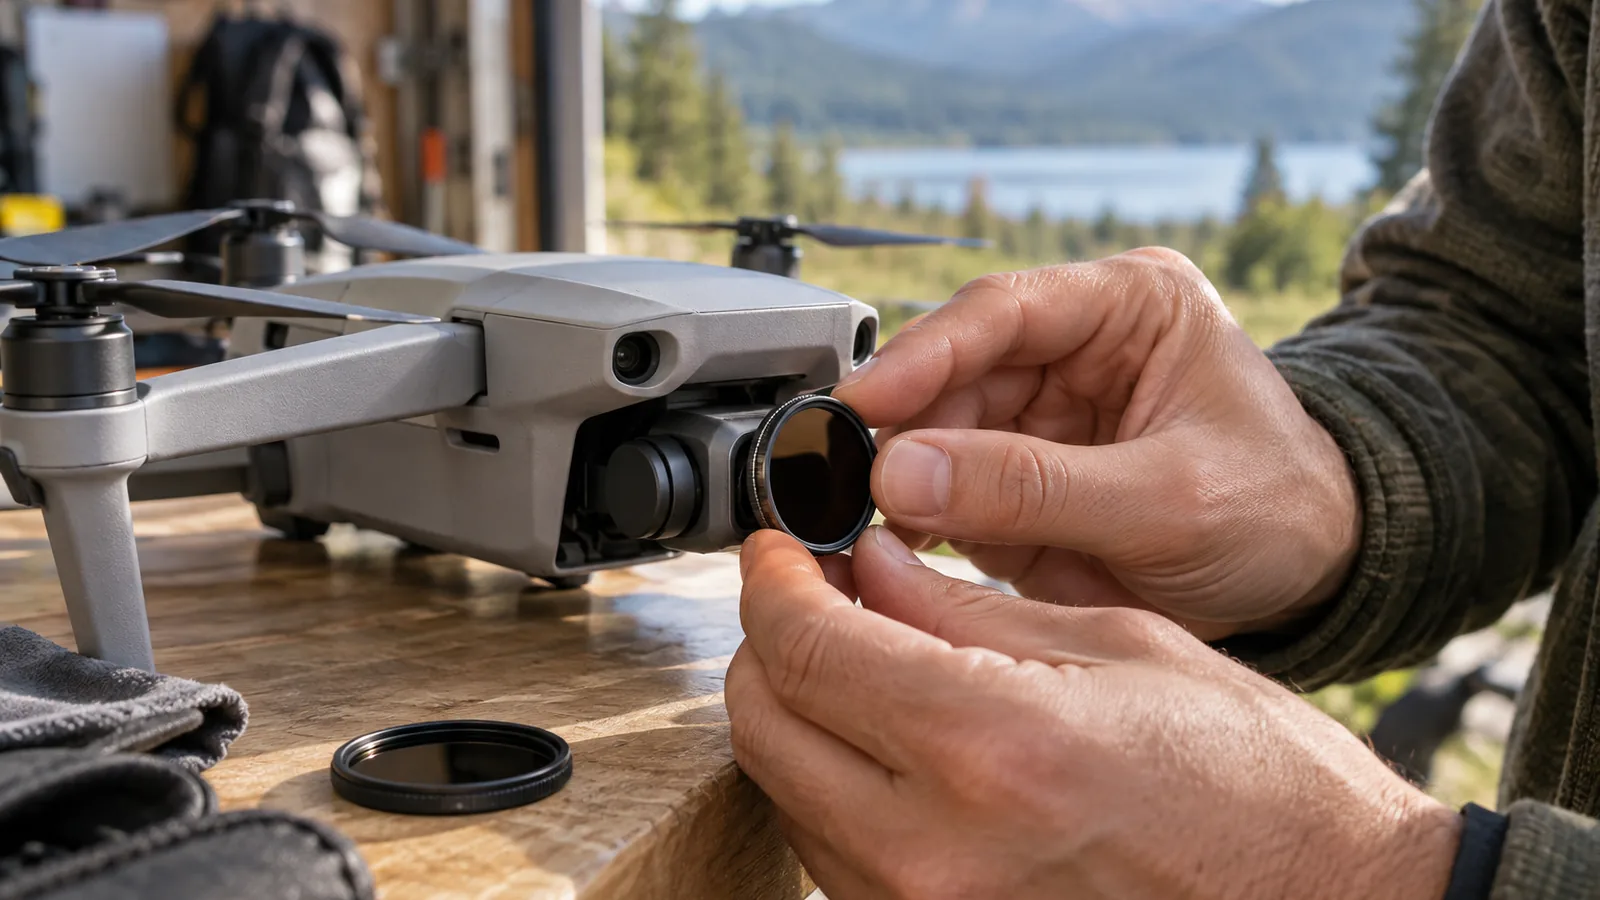
For drone video, start with ND16 (4 stops) in bright light, then check your camera’s exposure preview. The right strength changes with the scene and your frame rate and shutter speed, so treat that filter as a starting point, not a fixed choice. If light falls, a dark filter can make exposure too low.
What ND filter should I use for drone video?
Quick answer: Start with ND16 (4 stops) in bright or partly cloudy light, ND8 (3 stops) in cloudy conditions, or ND4 (2 stops) at early morning or late evening. Set your frame rate and target shutter speed first, then check the camera’s exposure preview and adjust the filter until exposure looks right.
- Bright or partly cloudy: Start with ND16.
- Cloudy: Start with ND8.
- Early morning or late evening: Start with ND4.
- Very bright: Consider ND64 or ND128.
- As light changes: Switch to a stronger filter as it gets brighter, or a weaker one as it fades; avoid a dark filter in low light.
The short answer
For a common motion-blur look, set your shutter speed to about twice your frame rate: 24 fps pairs with 1/50 s. That gives you a target exposure to work toward when deciding what nd filter should i use for drone video.
In bright light, an ND filter cuts the light reaching the sensor, helping you keep that target shutter speed without overexposing the image. For example, when bright conditions would otherwise call for 1/1000 s and the target is 1/50 s, ND16 (4 stops) is a starting point.
As daylight changes, check the exposure preview or meter again and adjust the filter strength: use a weaker filter as the light falls and a stronger one as it increases. Treat strength recommendations as starting points, since the same filter may expose differently across cameras and scenes. A very dark ND filter may not suit low-light conditions.
The twice-the-frame-rate shutter guideline is intended to create natural-looking motion blur, but you don’t have to follow it for every shot. Choose your frame rate and target shutter speed first, then use the camera’s exposure reading to check whether the filter gives you a suitable exposure. This workflow is especially useful on drone cameras with fixed apertures, because you can’t adjust the aperture to control exposure. Check that any filter fits your specific drone model, since filter kits and camera exposure ranges vary.
How do you choose ND strength for the light?
Choose ND strength by keeping your intended shutter speed and checking the camera’s exposure preview: use a stronger filter as the light gets brighter and a weaker one as it fades. For what nd filter should i use for drone video, treat any strength as a starting point, since the right choice also depends on your camera and the scene.
| Lighting example | Filter | Light reduction (stops) |
|---|---|---|
| Early morning or late evening | ND4 | 2 |
| Bright light, when exposure without a filter would require 1/1000 s and the target is 1/50 s | ND16 | 4 |
In bright conditions, an ND filter cuts the light reaching the sensor, which can help you avoid an overly fast shutter when the camera’s aperture is fixed. As daylight changes during a flight, recheck the exposure preview; switch to a stronger filter if the image is too bright at your target settings, or a weaker filter if it’s too dark. In low light, a dark ND filter may not suit the scene, so don’t keep one on just because you used it earlier.
Use the camera’s exposure reading to confirm the choice rather than relying on the table alone. Filter kits and exposure ranges differ by drone model, so check that a filter fits your camera and verify exposure for your setup.
Set shutter speed before choosing a filter
Set your frame rate and target shutter speed first, then choose an ND filter that lets you hold that shutter speed without overexposing the video. A common guideline is to set shutter speed to about twice the frame rate, which is intended to give motion a natural-looking blur.
For example, that guideline pairs 24 fps with 1/50 s, 60 fps with 1/120 s, and 120 fps with 1/240 s. These are starting points, not rules for every shot; you can use a different shutter speed when the scene or the look you want calls for it.
Once you’ve chosen your frame rate and shutter speed, check the camera’s light meter or exposure preview and select a filter that keeps the image correctly exposed. An ND filter reduces the light reaching the sensor, helping you maintain a slower shutter speed in bright conditions without overexposing the image. If you’re asking what nd filter should i use for drone video, the practical answer is the one that fits your chosen settings and the current light, confirmed by the exposure reading.
For instance, Tiffen’s example uses ND16, a 4-stop filter, when bright light would otherwise require 1/1000 s and the target shutter speed is 1/50 s. As the daylight changes, recheck exposure: use a weaker filter as light falls and a stronger one as it increases.
When should you use a polarizing filter?
Use a polarizing filter when you want to cut glare or reflections from water and other non-metallic surfaces, or make colors look more saturated. Its effect depends on the scene and filter orientation, so check the camera preview as you adjust it. Polarization changes glare and color, while an ND filter’s main job is to reduce the light reaching the sensor so you can control exposure or shutter speed.
A combined ND/PL filter can do both: reduce incoming light and add polarization. The polarization effect varies with the scene and how the filter is oriented, so it won’t look the same on every flight. Check the filter’s fit and exposure on your specific drone model, since compatibility and camera exposure ranges vary.
A polarizing filter can help when reflections distract from the subject, but it isn’t a substitute for choosing ND strength to suit the light and your intended shutter speed.
Frequently Asked Questions
What ND filter should I use on a cloudy day?
ND8, a 3-stop filter, is a practical starting point for cloudy conditions. Check your camera’s exposure preview with your chosen frame rate and shutter speed, then adjust if the image is too bright or too dark.
Can I leave an ND filter on my drone camera?
No, remove or change it when the light falls enough that the filter makes exposure too dark.
What is the difference between an ND filter and a polarizing filter?
An ND filter reduces light reaching the sensor so you can control exposure or shutter speed; a polarizing filter reduces glare and reflections from water and other non-metallic surfaces. A combined ND/PL filter does both, but its polarization effect depends on the scene and filter orientation.
How do I know if my drone ND filter is compatible?
Check that the filter is made for your specific drone model, then confirm exposure with the camera’s meter or preview. Filter kits and camera exposure ranges vary, so a filter’s strength alone can’t confirm it will fit or give the exposure you want.
Can I stack ND filters on a drone camera?
The practical approach is to use a single filter with the needed light reduction, then verify exposure in the camera preview. Choose the filter after setting your frame rate and target shutter speed, since the right strength depends on the camera, settings, and scene brightness.
Conclusion
If you’re shooting in bright light, choose the ND filter that lets you keep your intended shutter speed without overexposing; if the light is fading, switch to a weaker filter or remove it. Before takeoff, set your frame rate and shutter speed, fit a compatible filter, then check the camera’s exposure reading. If the image is too bright or dark, adjust the filter strength and check again.
Sources
- Drone Filter 101 (tiffen.com, 2019-06-03T17:20:30-04:00)
- tiffen.com (tiffen.com)
- store.dji.com (store.dji.com)
